Replacing Backgrounds
Sometimes, you will want to edit or change the background of a photo to a more exciting or colourful one. To combine a new background into a current picture can be tricky because you will want it to fit seamlessly in. The most challenging part is cutting out the part you don't want. It makes it even more difficult if you happen to have trees or shrubbery extending into that area that you want to cut out. However, with a few blending techniques, you can quite easily combine more than one image together.
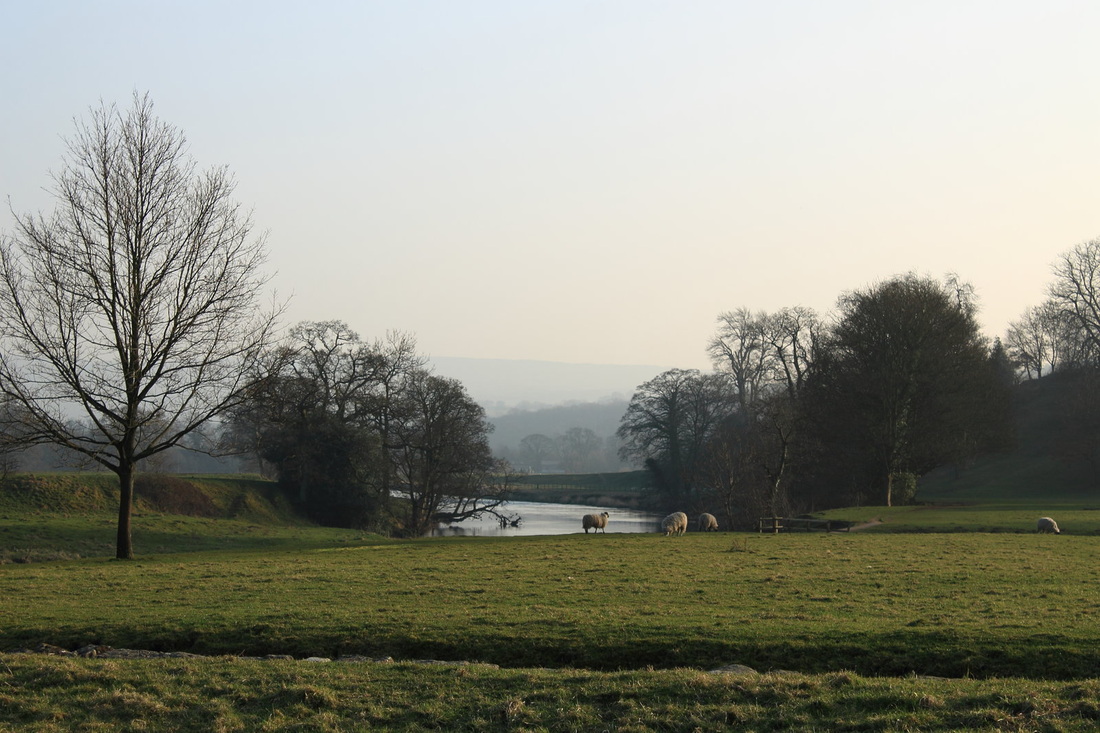
1) First open up the two pictures you want to combine. For this lesson, we will be focusing more on replacing the skies of photographs.
1) First open up the two pictures you want to combine. For this lesson, we will be focusing more on replacing the skies of photographs.
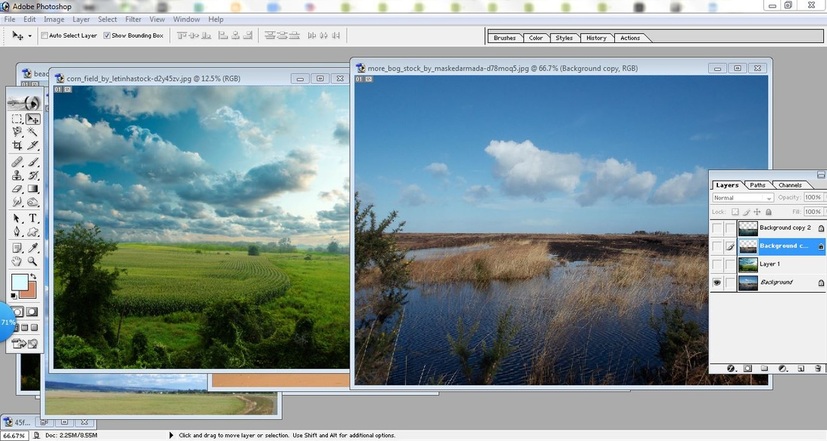
2) Remember to press Command+J to duplicate your background layer. Your new layer will now be cut so that the new sky can slip behind it.
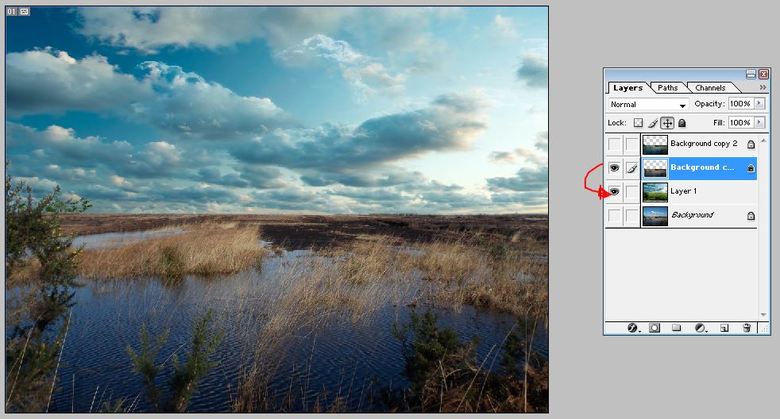
3) Select the area you wish to remove by using your selection tools. If your background is mostly a similar colour, you can you your magic wand to select the areas. Otherwise, your Magnetic Lasso Tool is excellent for outlining and selecting areas, based on colour.
4) Once you have your area selected, right click and feather the selection. Depending on the size of the image, I would select a value between 1-5 pixels.
5) Delete that area so that it leaves a transparent area for the new background. (I know that a mask could be applied to this, but I am still unfamiliar with masking options. If you are comfortable with using them, I would recommend using that.)

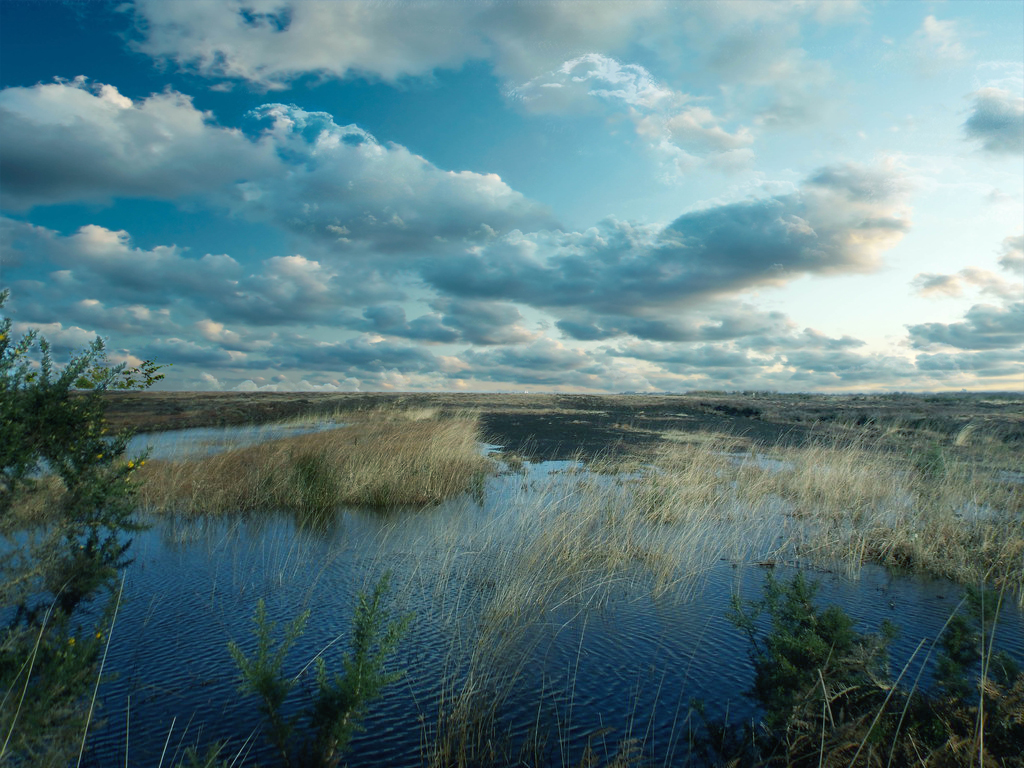
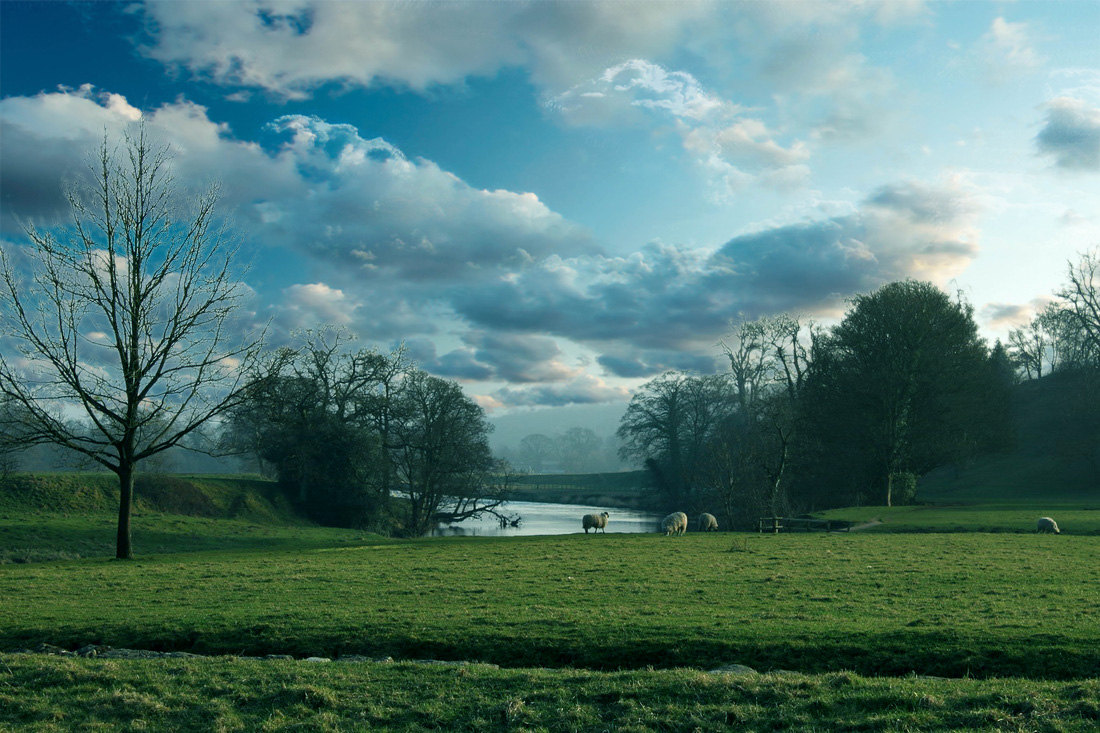
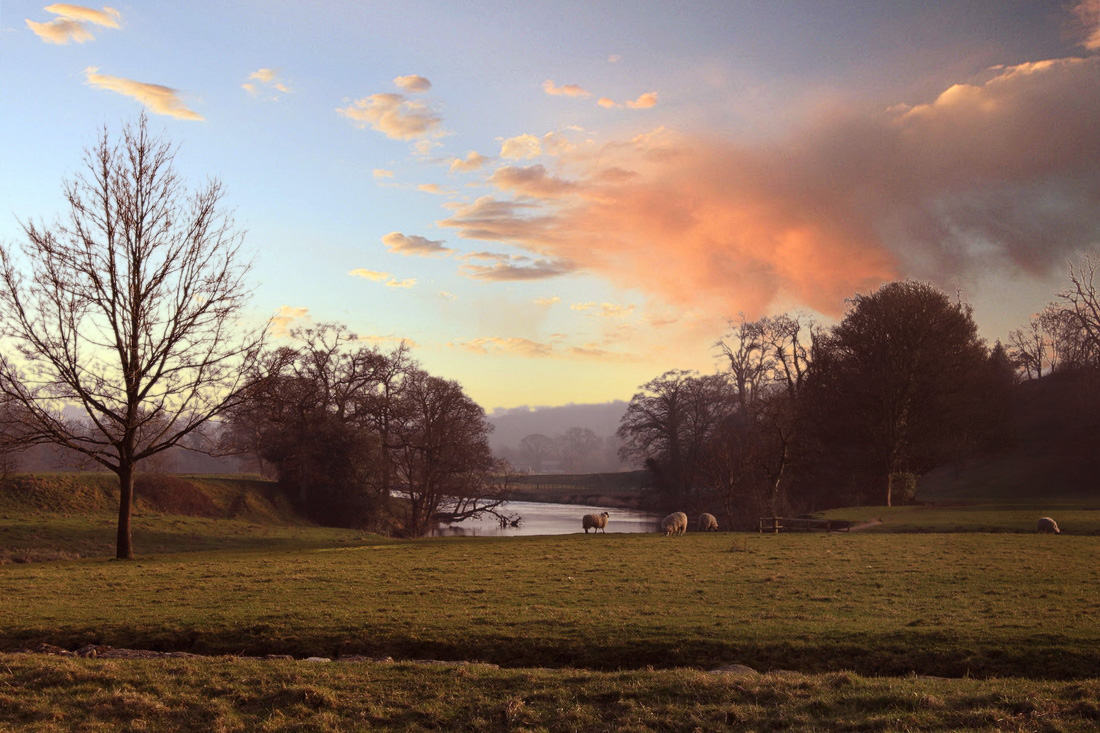
6) Drag your new sky background into the image you are working on. Arrange the layers so that your new sky photo is underneath of the image you are working in.
7) Remember that your new sky background and current foreground may not quite match in terms of colouring and lighting. Using techniques learned in the colour adjustments and lighting lessons, modify the images until they match. Don't forget to apply the "Dodge" and "Burn" tools lighten or darken specific areas to match the overall lighting!
|
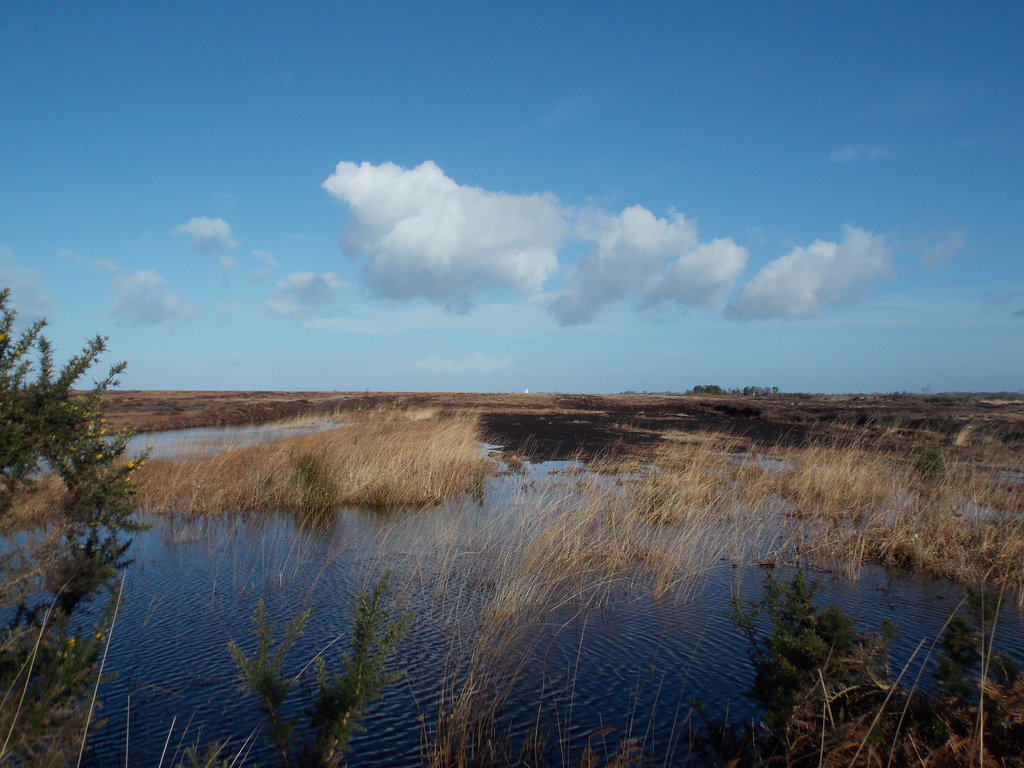
Original
|
After
|
|
|
